Multitrack screen
Arrange the song
Place each track's parts on the timeline, shorten them with the part markers and manage the tracks.
The Multitrack (Cmd+2) shows the eight tracks on the timeline of the song. Here you decide when each track plays. What it plays is made on the Sample screen.
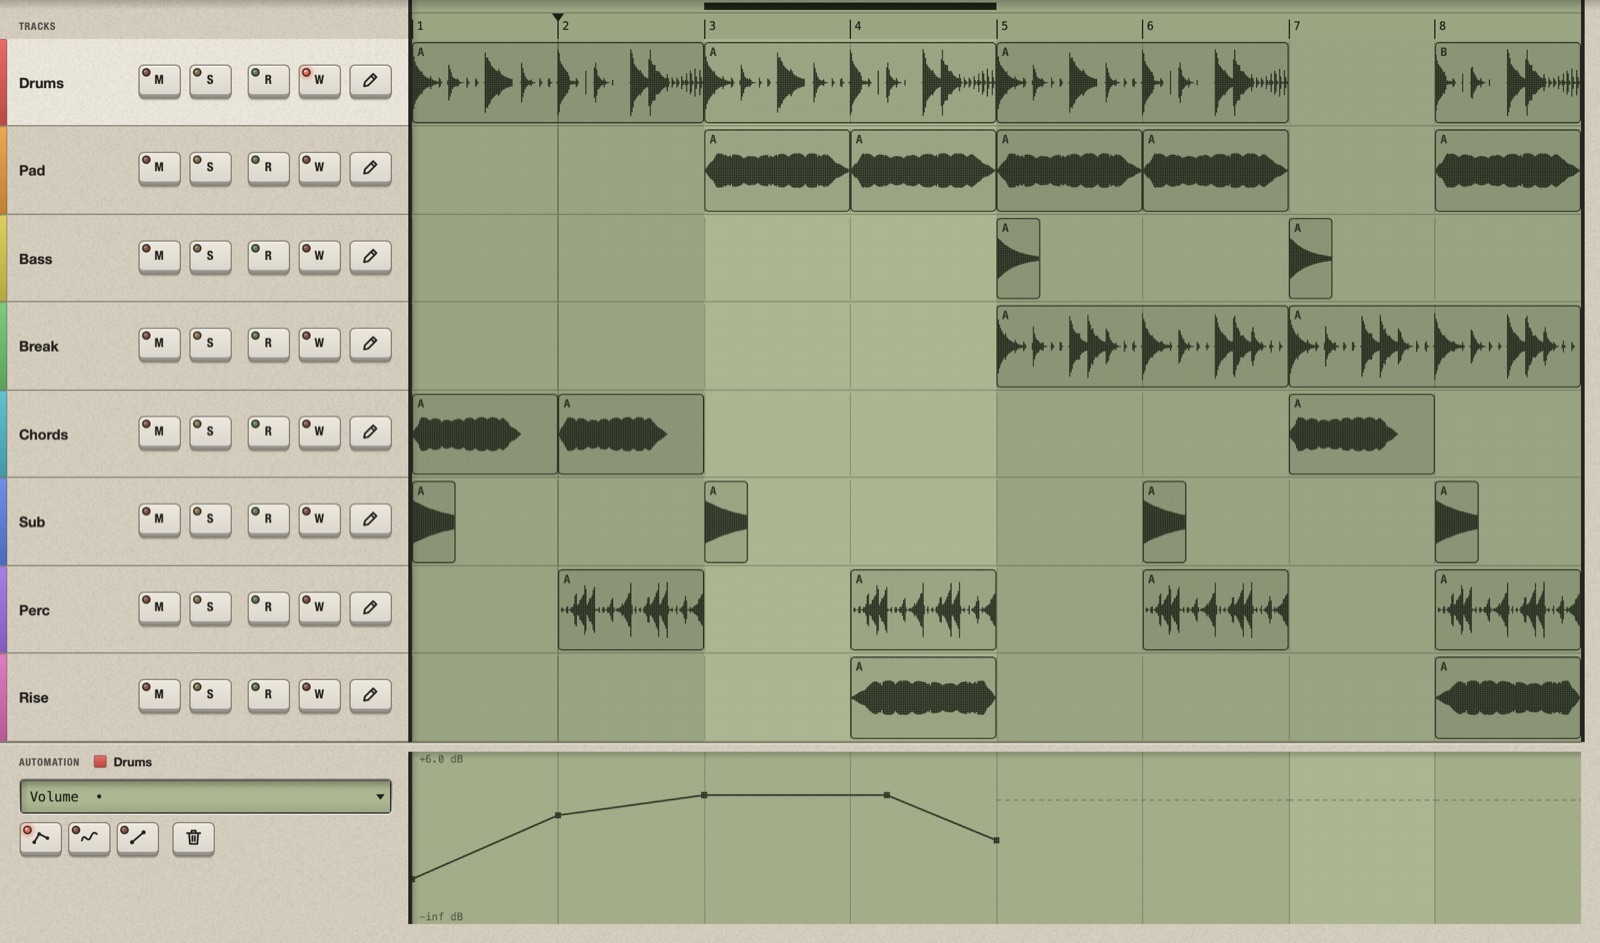
What you see
| Area | What it is |
|---|---|
| 1Rows on the left | The eight tracks: colour, name, then the keys M, S, R, W and a pencil. |
| 2Ruler | The bar numbers. Click it to place the cursor Play starts from. |
| 3Thin strip above the ruler | The loop range. |
| 4Boxes on the timeline | The parts: each shows a small waveform of what it plays. |
| 5Block at the bottom | Automation of the selected track. |
Playing the song, the cursor and the loop range are explained in Play and listen.
The idea: a part is a window on a pattern
If you come from another DAW, a part looks like a clip, but it is not one. A clip contains audio that you can cut and edit on the timeline. A part contains nothing: it is a place on the timeline that says "play this track's pattern once, starting here". What you see drawn inside it is a picture of what the pattern plays.
Three things follow from this:
- You place parts; you do not edit them. There is no cutting, fading or stretching on the Multitrack. To change what a part plays, change its pattern on the Sample screen.
- Every part of the same pattern is the same. Edit the pattern once and all of them follow, wherever they are in the song. To make one of them different, give it another variation.
- A part's length is not yours to drag. It is the length of the pattern: the track's Bars, between the part markers. A 2-bar pattern gives 2-bar parts.
So building a song is deciding where the pattern plays and where it is silent. To make the drums play for 8 bars, put four 2-bar parts one after the other. To drop them out for a bar, leave a gap.
What a part is
A part is one play of a track's pattern. Between parts a track is silent. A track gets its first part, at bar 1, when you load its sample.
How long a part is:
| The track has | A part lasts |
|---|---|
| Fit on (a loop) | The track's Bars, at any tempo. |
| Fit off, or Timing on Original (a one-shot) | As long as the sample, in seconds. Counted in bars, that changes with the tempo. |
| Part markers moved | Only the stretch between the two markers. |
Place parts
| You want to | Do this |
|---|---|
| Add a part | Double-click an empty place of the track's row. |
| Move a part | Drag it. It snaps to the toolbar Grid; hold Cmd to move it freely. |
| Copy a part somewhere | Hold Alt and drag it. |
| Copy a part right after itself | Click it and press Cmd+D, or right-click > Duplicate. The copy goes to the first free place after it. |
| Delete a part | Click it and press Delete, or right-click > Delete. |
| Change what it plays | Double-click it, or right-click > Edit in the Sample screen. |
- Parts of one track never overlap: a part you drag stops against its neighbours.
- Parts stay inside the project: a part cannot go past the last bar. To get more room, raise the length in the toolbar (up to 256 bars).
- To place parts on whole bars, set the toolbar Grid to 1/1.
How parts sound one after the other
A part plays its pattern once and then the track goes silent, unless another part begins at that very moment.
- Parts placed back to back play like a loop, with no gap and no cut.
- A part followed by an empty space is cut at its end: a long last hit does not ring into the silence.
- If a part is longer than the space before the next one, the next part cuts it.
Choose the pattern a part plays
Each part plays one of the track's four variations and shows its letter. Click a part and press Alt+1 to 4, or right-click it > Variation. Edit > Variation A-D shows a tick on the one the selected part plays.
Shorten a part with the part markers
A part normally plays the whole pattern. Sometimes you want only a stretch of it in the song: just the first bar of a 2-bar pattern, or just its last beat as a pick-up. You cannot drag the edge of a part to do that, because a part has no content of its own. Instead you tell the pattern which stretch of itself its parts should play, with the part markers: the two small triangles at the two ends of the ruler above the waveform, on the Sample screen.
Think of the markers as a window laid over the pattern. Every part of that pattern shows, and plays, what is inside the window.
- Go to the Sample screen and show the variation.
- Drag the right triangle to the left: the parts end there. A two-bar pattern with the triangle at bar 2 gives one-bar parts.
- Or drag the left triangle to the right: the parts begin there.
- The markers change only the parts in the song. The sample, the slices and the pattern stay whole, and Play on the Sample screen still plays all of it.
- They apply to all the parts of that variation at once, the ones already placed too.
- Each variation has its own markers. To have both the full pattern and a short version in the same song, use two variations: copy A to B (Duplicate variation), move B's markers, and give the short parts variation B.
- The markers snap to the grid on Place: grid and move freely on Place: free.
- Loading or clearing the sample puts them back at the first and the last bar.
Example: a one-beat pick-up
The drum pattern is 2 bars. You want only its last beat to play just before bar 1 of the chorus. Copy A to B. In B, drag the left marker to the last beat of bar 2. B's parts are now one beat long. Place one of them one beat before the chorus.
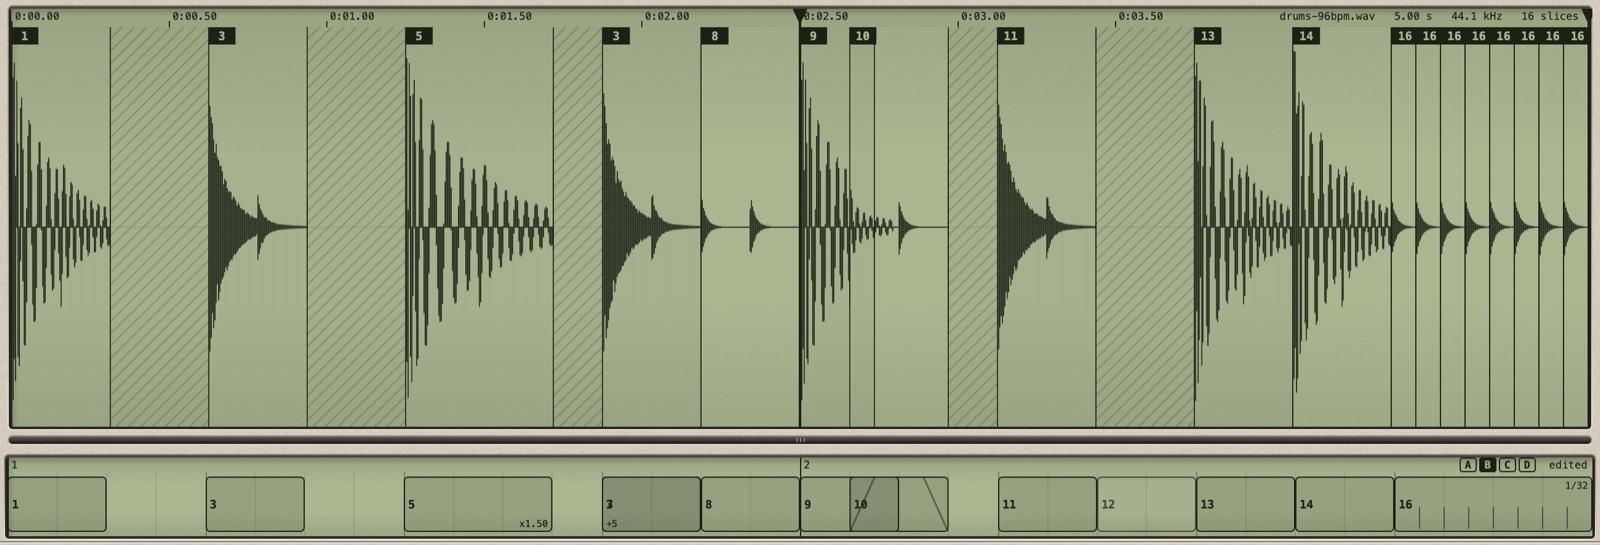
1The left marker, moved to the start of bar 2. 2The right marker, at the end. The parts of this variation play only bar 2; in the first picture of this page that is the short part marked B at bar 8.
The keys of a track's row
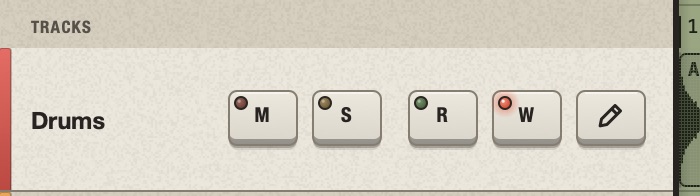
From left to right: the track's colour and name, M (mute), S (solo), R and W for automation, and the pencil, which opens the track on the Sample screen.
Mute and solo
M mutes a track and S solos it, here and in the Mixer: they are the same switches. Mute and solo apply to the song, not to Play on the Sample screen.
Name and colour a track
- Rename: double-click the name on the row, or right-click the row > Rename...
- Colour: right-click the row > Colour.
The same menu opens with a right-click on the track's tab on the Sample screen, where a double-click on the name in the tool row renames it too.
Go to the Sample screen for a track
Click the pencil on its row, or double-click one of its parts. A row without a sample reads Empty: drop a sample here, or double-click to edit; a track with a sample and no parts reads No parts: double-click to add one.
Load a sample from here
Drag a file from the Finder or from the sample browser onto a row: it loads into that track.
Copy a whole track into an empty one
Right-click the row (or the tab on the Sample screen) > Duplicate content to and choose a track without a sample.
The empty track gets a copy of everything: the sample, the slices, the four patterns, the parts in the same places with their automation, the settings, volume, pan, mute, sends and effects with their current settings. It keeps its own name, colour and solo. MIDI mappings are not copied.
Use it to split a loop over two tracks (kick on one, snare on the other) or to try another treatment of the same sample.
Limits
A track can have up to 256 parts. The project can be 2 to 256 bars long.